How to Install Lawn Edging Between Grass and Garden Beds

A clean border between your lawn and garden beds can make a big difference to how your garden looks and functions. Without a clear edge, grass often spreads into planting areas, and garden beds slowly lose their shape.
Lawn edging creates a defined line between turf and soil, helping the entire garden look more organised. It also makes routine tasks like mowing and trimming much easier.
At Gardening Direct Australia, lawn edging is commonly installed as part of landscaping upgrades and garden maintenance projects across Melbourne. While many homeowners choose professional installation, edging is also a project you can tackle yourself with the right tools and a bit of planning.
This guide explains how to install lawn edging step by step so you can create neat borders between grass and garden beds.
Key points
- Lawn edging creates a clear border between the lawn and garden beds
- Installing edging is a manageable DIY landscaping task
- Careful preparation helps achieve a clean and straight edge
- Consistent trench depth improves stability
- Quality edging materials help maintain tidy garden borders
Why Lawn Edging Improves Garden Structure
A well-defined edge helps separate different areas of your garden. When lawn and garden beds blend together, the space often looks uneven and harder to maintain.
Edging frames planting areas and creates a visual structure. Flower beds, mulch areas, and pathways appear more intentional when borders are clearly defined.
It also improves lawn care. A defined edge provides a clear line for mowing, reducing the chance of damaging nearby plants or disturbing garden soil.
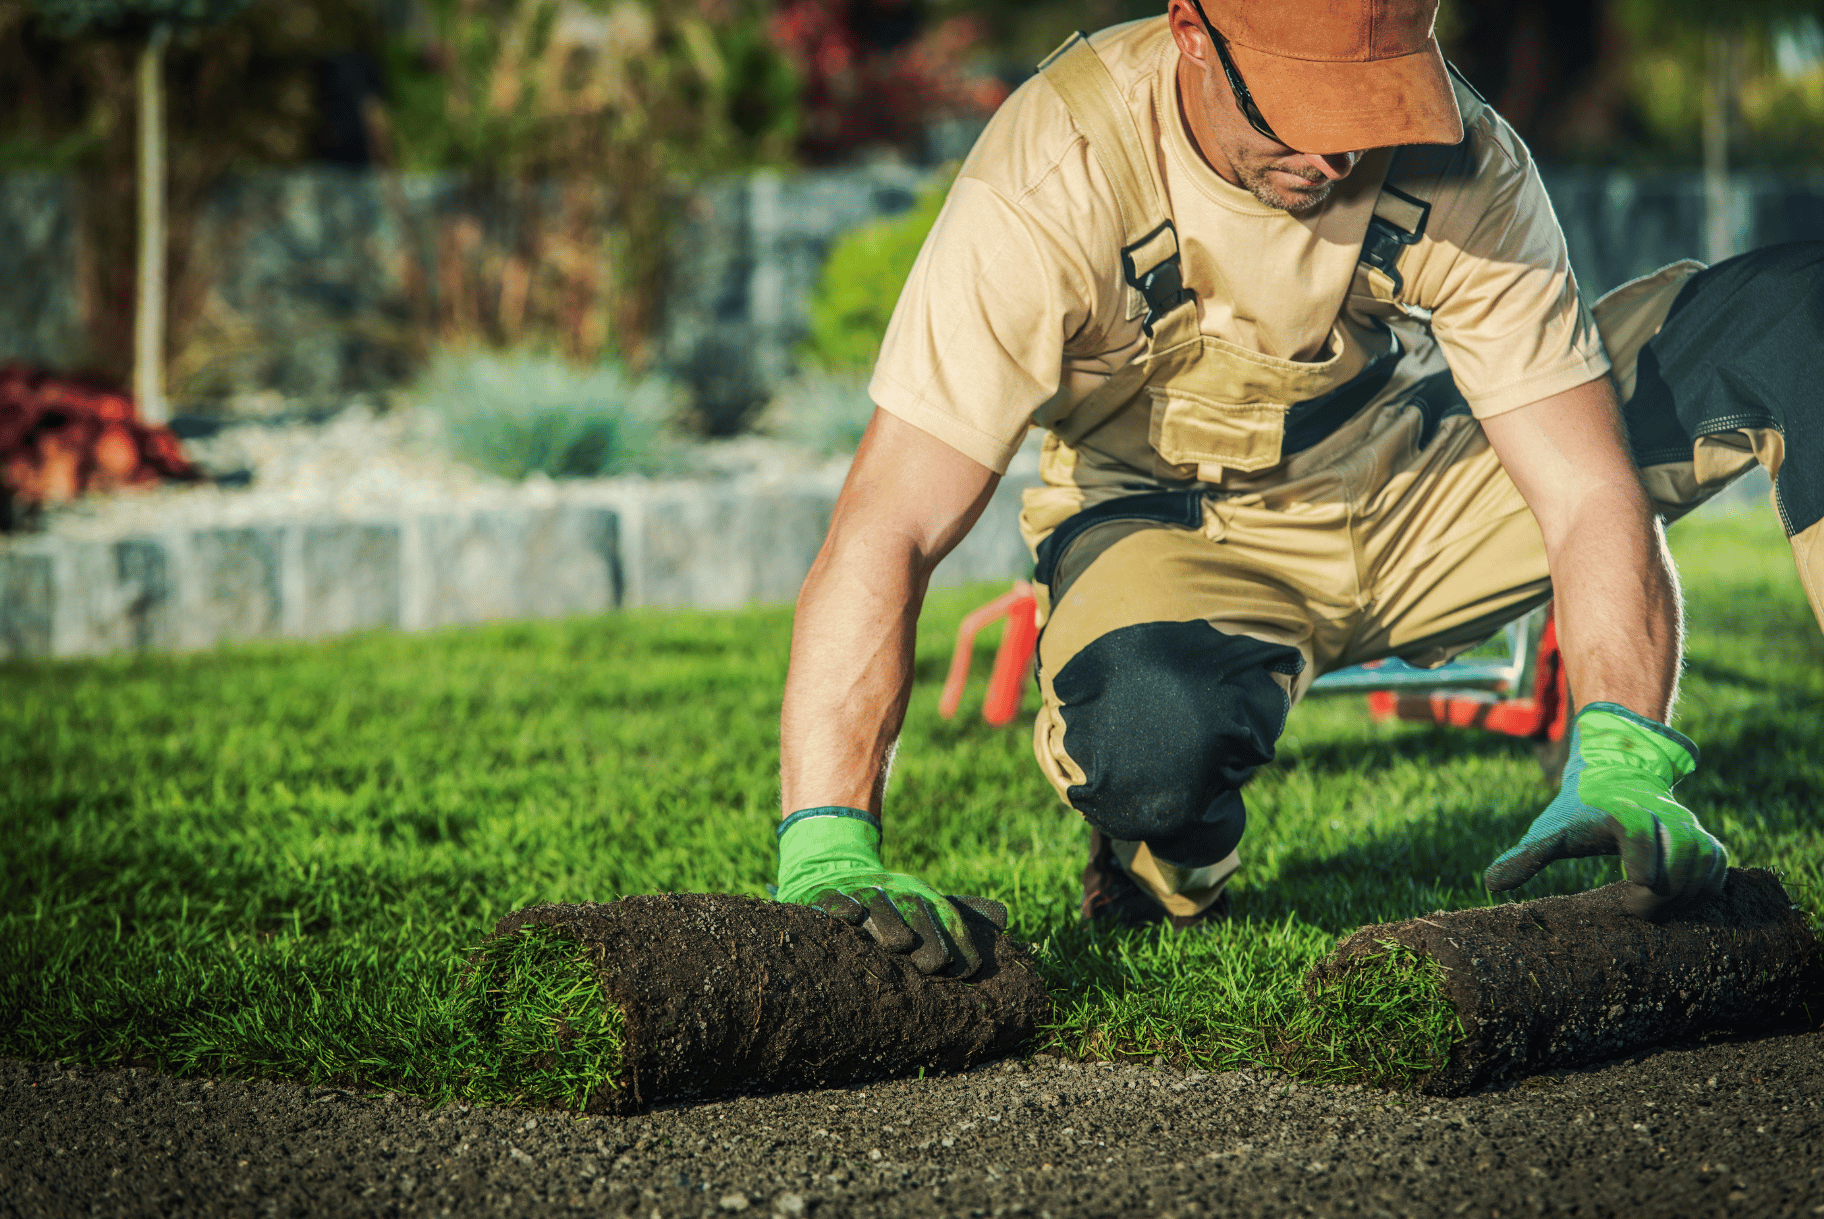
In many landscaping projects, edging is installed alongside other improvements such as turf installation, mulching, paving, or garden bed redesign. Establishing the edge early helps shape the rest of the landscape layout.
Tools and Materials You Will Need
Before starting, gather the tools needed for installation. Having everything ready will make the process smoother.
Typical tools include:
- Spade or trenching shovel
- Measuring tape
- String line or marking spray
- Rubber mallet
- Spirit level
- Work gloves
You will also need the edging material itself. Many landscapers use steel edging because it creates a crisp border and maintains its shape in outdoor conditions.
Strong edging materials are easier to align and secure once placed in the trench, helping maintain straight borders between lawn and garden beds.
Step-by-Step Guide: How to Install Lawn Edging
Installing edging is largely about careful preparation and alignment. Working steadily through each step will help you achieve a professional-looking result.
Step 1: Plan and Mark the Edge
Start by deciding exactly where the border between the lawn and garden bed should sit.
Use a string line or marking spray to outline the edge. This helps you visualise the finished layout before digging begins.
Straight lines suit modern gardens, while gentle curves can soften the overall landscape design. Take time to check the layout from different angles before moving to the next step.
Step 2: Dig the Trench
Once the border is marked, dig a trench along the line using a spade.
The trench should be wide enough to fit the edging comfortably. Aim to keep the trench depth consistent along the entire border.
A clean and even trench helps ensure the edging sits straight once installed.
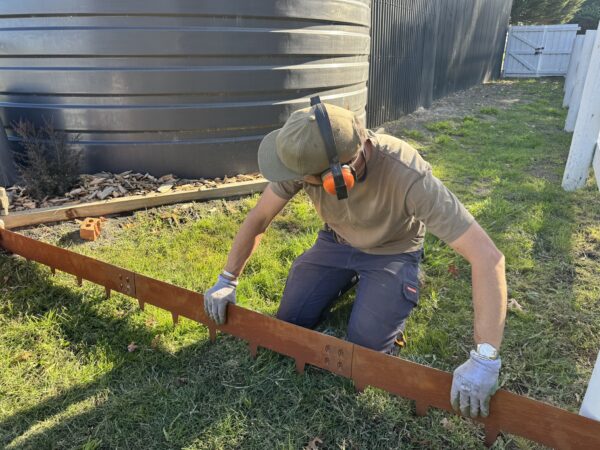
Step 3: Position the Edging
Place the edging into the trench and align it with the marked border.
Use a spirit level to check that the edging sits evenly along the line. If the ground is uneven, adjust the soil beneath the edging until the height remains consistent.
Many edging systems come in sections that join together. Connect these sections as you move along the trench to maintain a continuous border.
Step 4: Secure the Edging
Most edging systems include stakes or connectors that hold the edging in position.
Use a rubber mallet to gently tap the stakes into place. Securing the edging firmly helps prevent movement once the soil is filled back in.
Spacing the stakes evenly along the edge will also improve stability.
Step 5: Backfill the Trench
After the edging is positioned and secured, refill soil into the trench on both sides of the edging.
Press the soil down firmly as you work. Compact soil helps stabilise the edging and keeps it from shifting over time.
Once the trench is filled, smooth the soil in the garden bed and tidy the lawn edge to complete the installation.
Tips Landscapers Use for a Cleaner Edge
Professional landscapers often focus on small details that make edging look sharp and consistent. These simple tips can help improve your final result.
- Check alignment regularly as you install each section
- Work in shorter sections so the edging remains straight
- Use a level to maintain consistent height
- Compact the soil firmly around the edging
Taking your time with alignment often produces a much cleaner border.
Choosing Lawn Edging for Melbourne Gardens
Melbourne gardens experience a range of weather conditions throughout the year. Edging materials need to handle heat, moisture, and regular garden maintenance.
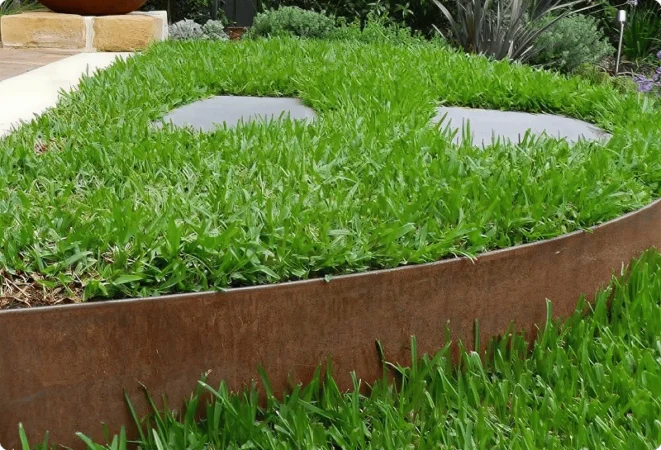
Steel edging is widely used in landscaping projects because it creates a strong border and works well with both straight and curved garden beds.
If you are planning a garden upgrade, you can explore different options for garden edging to find a solution that suits your landscape layout.
For larger projects, edging is often installed during broader landscaping work such as turf installation, paving, mulching, or garden redesign.
Ready to Upgrade Your Garden Borders?
Installing lawn edging is a practical way to improve the appearance and structure of your garden. With careful planning and the right materials, homeowners can create clean borders that define lawn and garden spaces.
Whether you are refreshing a single garden bed or planning a larger landscape update, well-installed edging helps maintain tidy garden lines and makes ongoing maintenance easier.
Frequently Asked Questions
1. How deep should lawn edging be installed?
Edging should be installed with part of the material below ground to help stabilise it. Keeping the trench depth consistent helps the edging remain straight and secure.
2. What tools are needed to install lawn edging?
A spade, measuring tape, string line, spirit level, and rubber mallet are typically used. These tools help mark the border, dig the trench, and secure the edging accurately.
3. Can beginners install lawn edging themselves?
Yes. Many homeowners complete edging projects successfully as DIY garden improvements. Careful preparation and steady installation make the process manageable.
4. How long does it take to install lawn edging?
Small garden beds can often be edged in a few hours. Larger borders may take longer depending on the length of the edge and the complexity of the layout.
5. When should edging be installed during landscaping?
Edging is often installed before turf, mulch, or planting, so the garden layout is clearly defined. Establishing the border first helps guide the rest of the landscape design.