

The Right way to Install Garden Edging
Installing garden edging the right way makes a real difference to how outdoor spaces look and function. They create clean borders between lawns and garden beds, and give plants the defined space they need to thrive. In this guide, we’ll break down how to use garden edging for landscapers so you can get started right away.
Tools You’ll Need for the job
The first step to installation is making sure you have all the right tools. Here’s what you’ll need:
- Garden edging
- Shovel
- String line
- Scissors
- Rubber mallet
- Spirit level
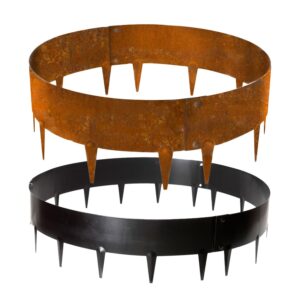
At Gardening Direct, our garden edging is designed with precision interlocking systems and spikes, so additional pegs, joiners and pins are not required.
Select Your Garden Edging
Choosing the right product for the job is crucial to a lasting installation. At Gardening Direct, we offer a variety of options to suit most projects.
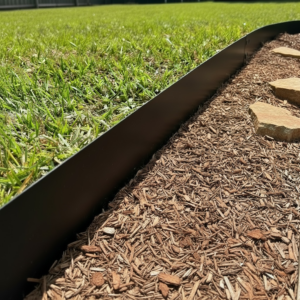
Steel Garden Edging
Steel garden edging offers a clean, modern finish suited to both residential and commercial projects.
- Material: Galvanised and powder-coated
- Finish: Matte black
- Height: 75-200 mm
- Gauge: 1.6mm-2.0 mm
- Price From: $23

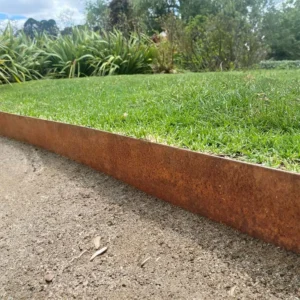
Corten Garden Edging
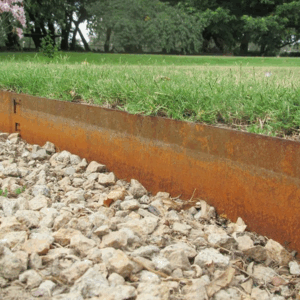
Corten garden edging develops a natural rust patina over time, making it a popular choice for organic and native garden designs.
- Material: Weathering steel
- Finish: Rusted patina (natural)
- Height: 100-200 mm
- Gauge: 1.5-2.0 mm
- Price From: $29
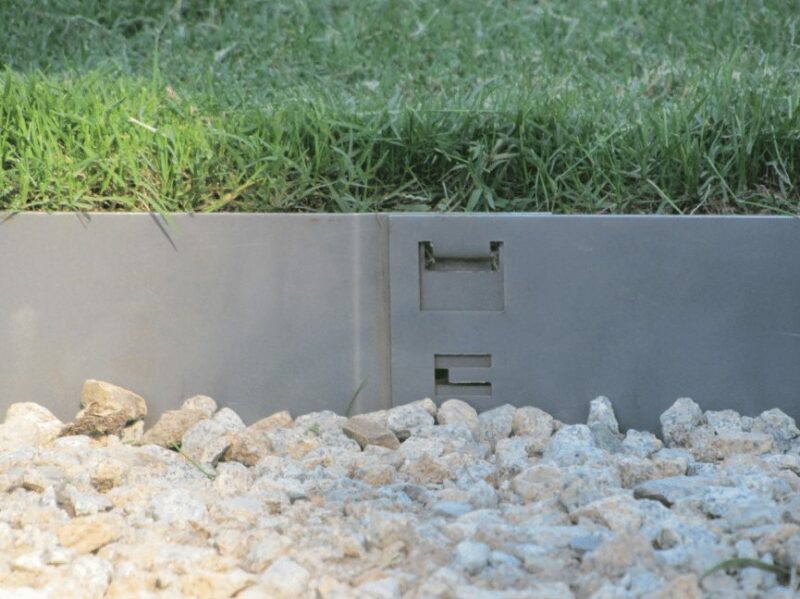
EverEdge Garden Edging
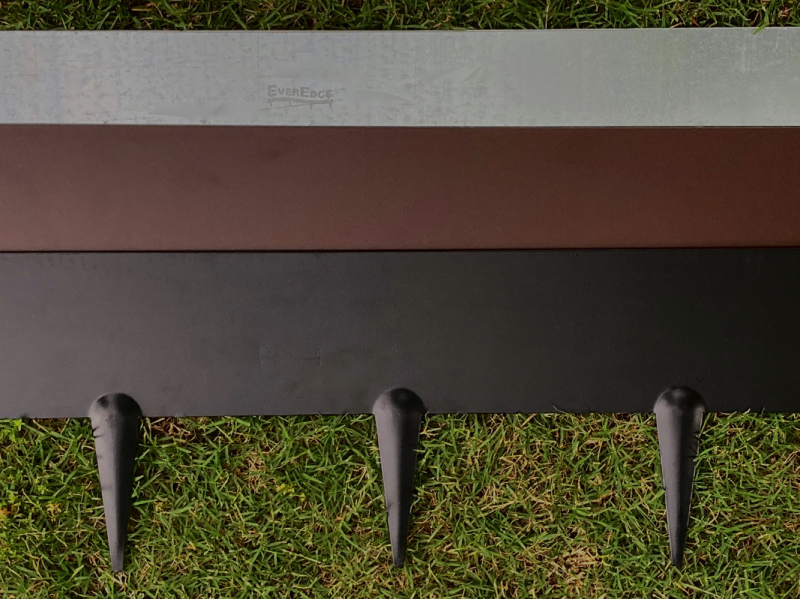
EverEdge garden edging is a flexible, powder-coated option available in two finishes to suit a range of garden styles.
- Material: Galvanised and powder-coated
- Finish: Black or brown
- Height: 75-150 mm
- Gauge: 1.6 mm
- Price From: $28.99
Choose the Right Gauge for Your Project

Commercial
Commercial garden edging needs to be thick and solid, built to withstand harsher conditions and heavier traffic.
For maximum rigidity, choose 2.0 mm gauge; this will hold its shape under pressure.

Residential
Residential edging still needs to be durable, but doesn’t require the same level of strength as commercial projects.
For most residential installs, a 1.6 mm gauge is enough to keep it secure.

Ready to get started on your next project?
Explore our full range of garden edging today. Ordering in bulk? See our trade and bulk pricing
How to Install Steel Garden Edging
Installing with Gardening Direct’s steel, corten, and Everedge range is simple and straightforward. Follow these steps.

Step 1.
Measure and Plan
Use your string line and scissors to mark out exactly where the edging needs to go. This keeps your installation accurate and true to your plan.

Step 2.
Dig a Trench
Use your shovel to dig a small trench along the marked lines. Make sure it is deep enough to fully seat the spikes so that the edging sits flush with the ground.

Step 3.
Install the Edging
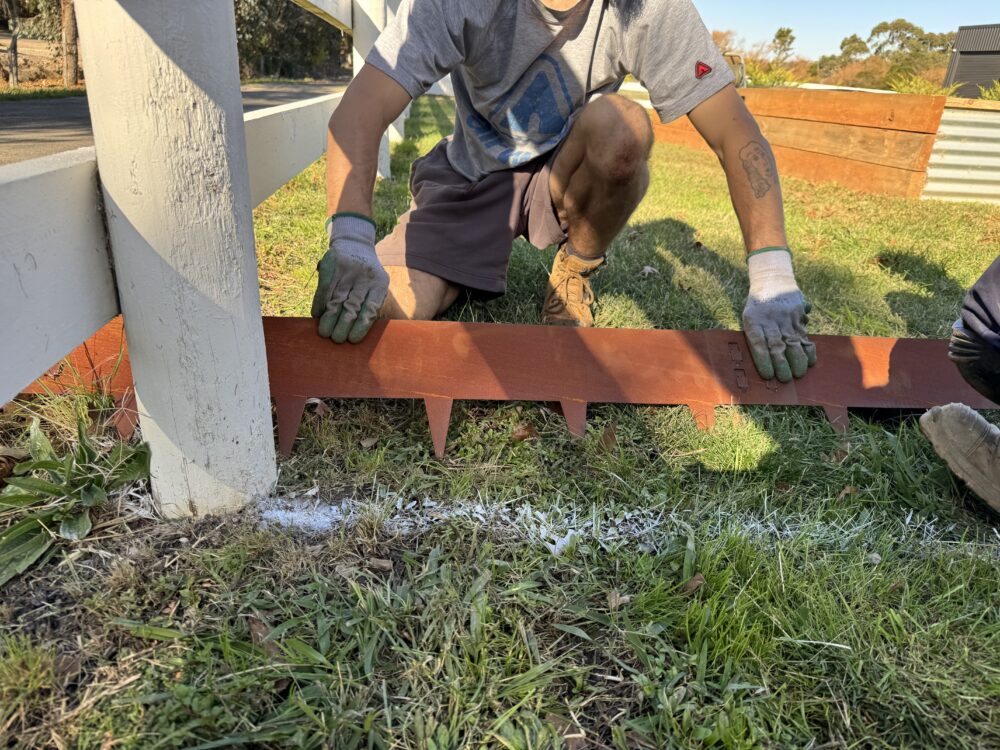
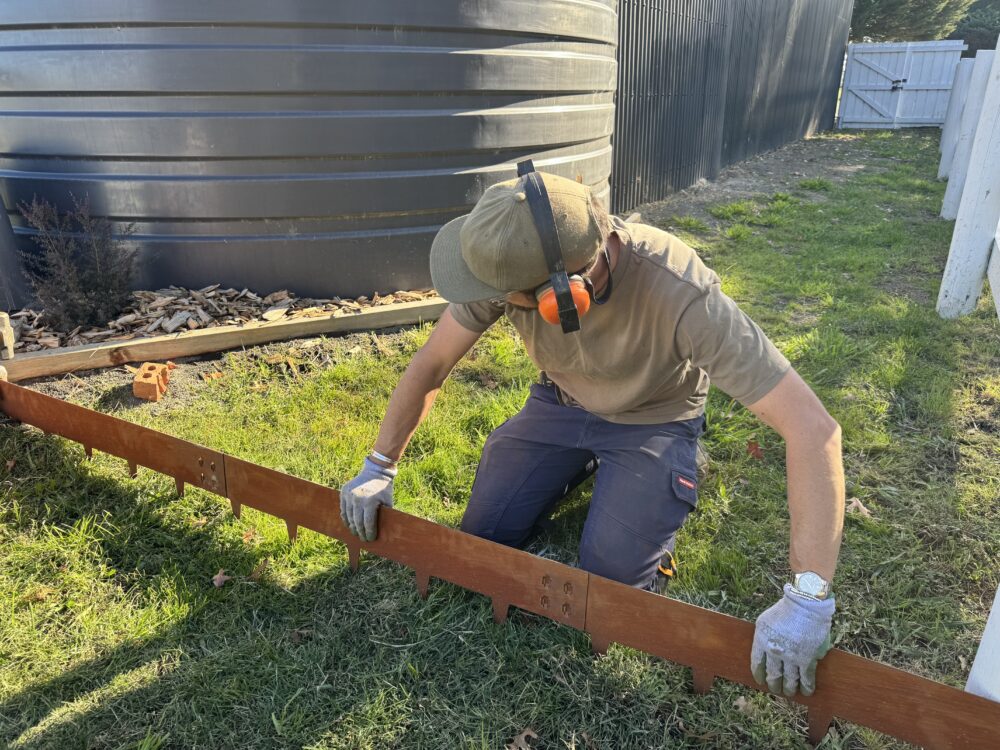
Once the trench is ready, place the edging inside and check that the bottom edge sits level with the lawn. Use a spirit level to confirm it is even.

Step 4.
Interlocking
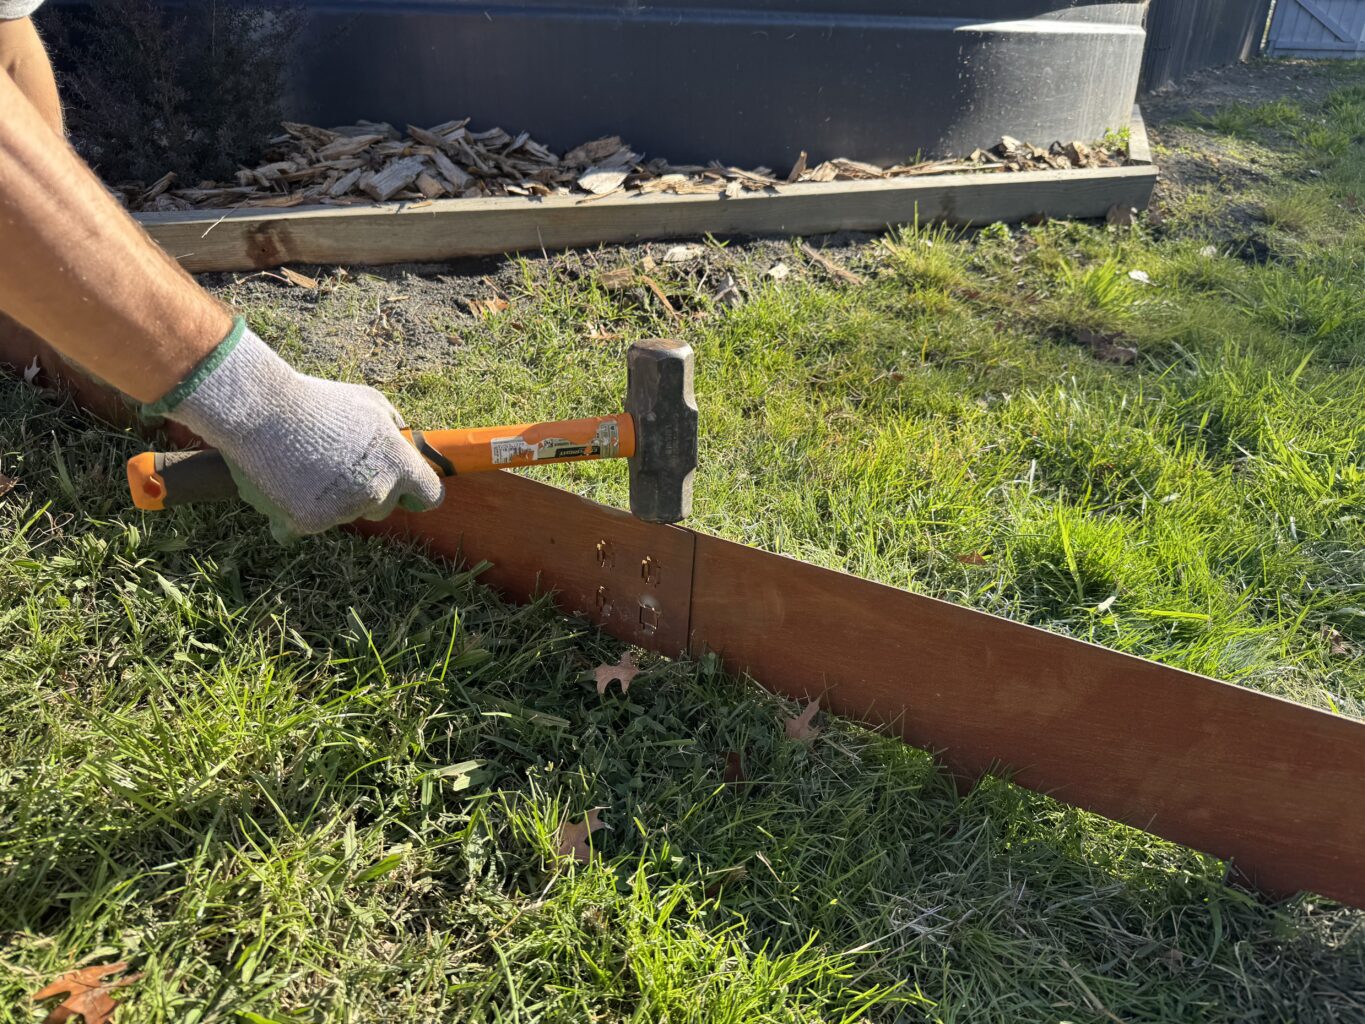
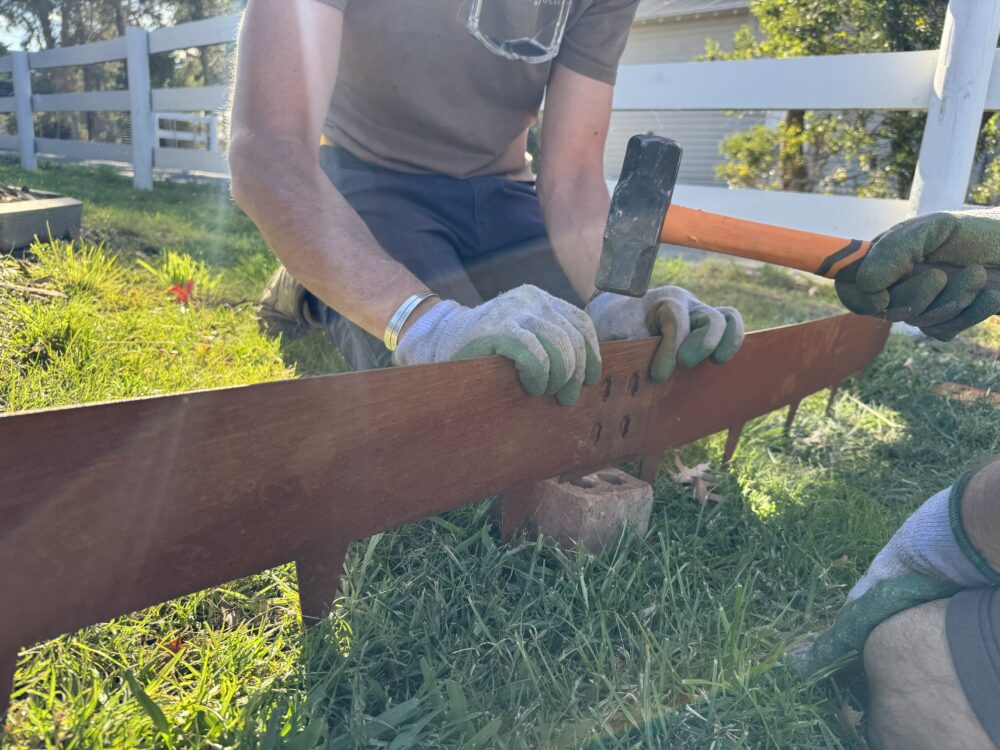
Fit the next section into the trench and connect it using the interlocking system. Once aligned, use a rubber mallet to firmly tap it into place.

Step 5.
Refill the Trench
Refill the trench to keep the edging securely in place. Once finished, your installation is complete.
Curved Garden Edging Installation Tips
Some projects require curved garden edging to suit unique garden shapes. Here are a few tips to help you get it right.
- Use a thick rope or hose to mark out your edging. This makes it easier to see the curves and adjust the line before committing.
- Clear any roots or debris from the trench before installing for a cleaner finish.
- Work in sections on longer runs to keep things manageable.
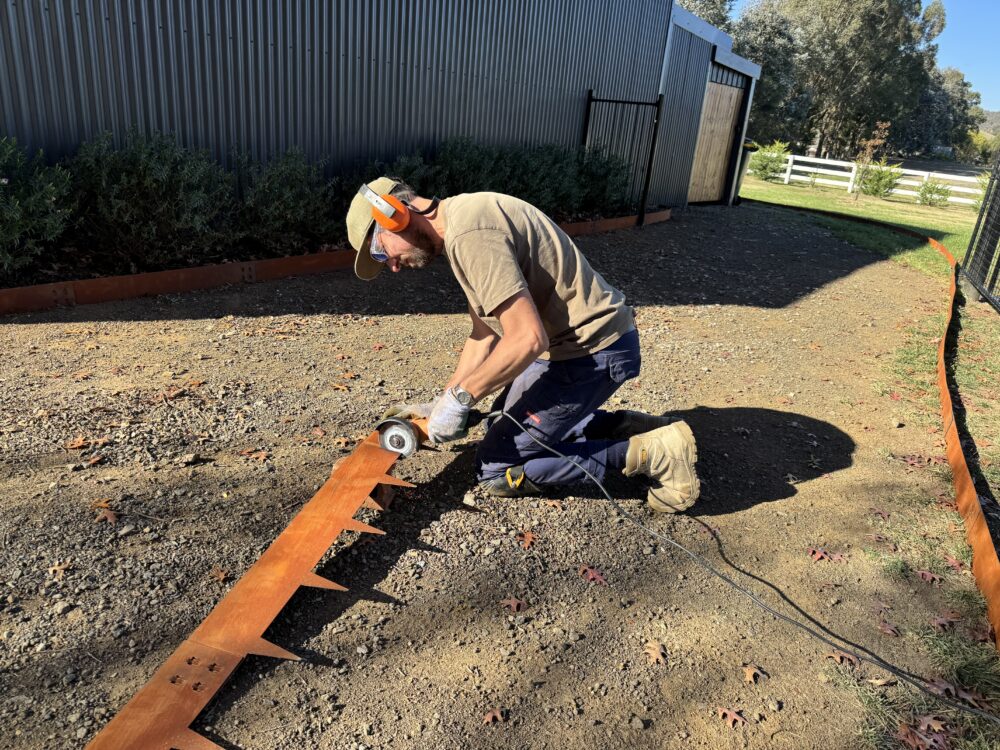
- Gradually bend the edging into shape to maintain its integrity.
- Work incrementally so you can check everything is secure and even as you go.
Frequently Asked Garden Edging Questions
Gardening Direct edging can be bent to any angle or curve. For tighter corners, work in small increments and check the angle as you go before tapping it into place with a rubber mallet.
With proper installation, Gardening Direct steel, corten and EverEdge edging is built to last 10 to 15 years or more outdoors.
Yes. See our full bulk garden edging and trade pricing page for details, including our trade enquiry form.
We offer bulk pricing discounts on both our Landscape Edge Range and Garden Ring Range for larger orders.
Landscape Edge Range:
- 5% discount on orders of 50 lengths or more
- 10% discount on orders of 100 lengths or more
Garden Ring Range:
- 5% discount on orders of 5 rings or more
- 10% discount on orders of 10 rings or more
If you’re an industry professional or placing a bulk order, get in touch with our team at sales@gardeningdirect.com.au to discuss pricing and trade discounts.
We offer fast turnaround times for all bulk orders, so you can ensure your project stays on schedule. Next-day shipping is also available if you’re working to a tight deadline or have an urgent job on.
Yes, Gardening Direct ships garden edging Australia-wide. A minimum delivery fee of $90 applies to garden edging orders, with costs varying depending on size and destination.
Get the Garden Edging Landscapers Rely on
If you need garden edging for your next landscaping project, explore the Gardening Direct range. With corten, EverEdge and steel options available, there is something to suit every job.