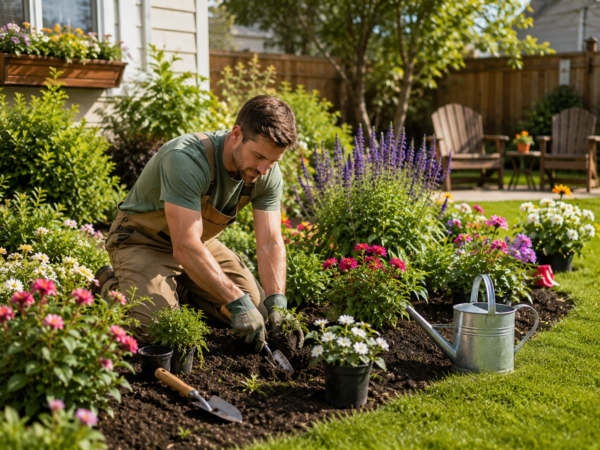
How to install garden edging like a pro (even if you’re a beginner)

Garden edging can transform the look and feel of your backyard, helping to separate different areas (like garden beds and even sandpits) to keep the whole space neat and tidy.
So, why doesn’t everyone install edging in their backyard? For many people, it’s simply because they don’t know how to. The good news is that garden edging is relatively simple to install. You won’t need the help of a professional (unless you want it, of course).
Here are some of our favourite garden edging installation tips and instructions to help you install like a pro (even if you’re just a beginner).
The team at Gardening Direct Australia is dedicated to offering expert advice along with one of the widest ranges of quality garden products, growing essentials, and tools. From garden edging and pots to weed and pest control, we’re your one-stop shop. Get in touch for more information.
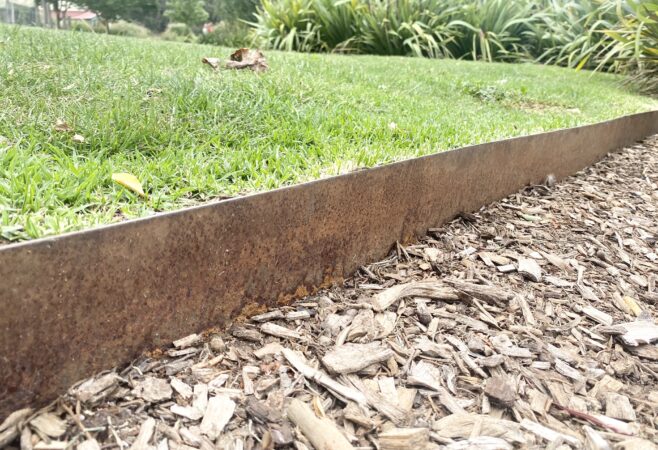
Choosing your garden edging
There are several different types of garden edging, each with its pros and cons. Some of the more popular ones include rigid metal, flexible steel, galvanised options and more.
You will need to consider many factors when choosing which type will best meet your needs, from your intended aesthetic to how much time you can spend on installation and maintenance.
If you’re still unsure, take a look at the materials already present in your garden to determine what might be a good fit.
Getting your supplies together
Other types of edging may require a lot of different tools and materials to hold it up and keep it in place. However, at Gardening Direct Australia, we provide edging that doesn’t require these extra supports.
However, it’s still a good idea to have everything you need on hand. Make sure you have:
- A shovel
- A rubber mallet
- A tape measure
- String
- A piece of wood
- A pencil or chalk
Depending on the type of edging you’ve settled on, you may want to wear some protective gear. Try gloves and safety glasses to minimise your risk of injury during installation.
Step-by-step installation guide
Now it’s time to get your hands dirty! The actual installation of metal garden edging is fairly straightforward.
1. Determine how much you need
The first thing you’ll need to do is figure out how much edging you’ll need. Use the string (or spray paint if you prefer) to mark out where you want the edging to go. Then use the tape measure to add it all up. We recommend allowing for an extra 10% (just in case).
One of the great things about the edging offered by Gardening Direct Australia is that it comes in 1.1m lengths, which includes 100mm overlap with a flush-fit joint for joining pieces together.
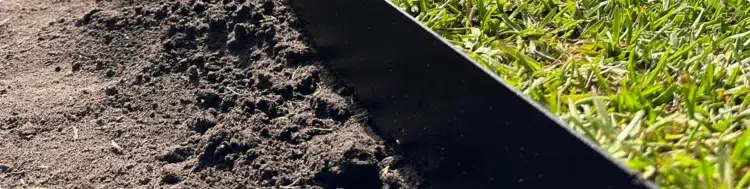
2. Dig a trench
You’ve already marked out where the edging will go, so now it’s time to dig the trench it will sit in. The trench should be deep enough to cover the bottom of the edging, and it should be narrow (just wide enough to accommodate the metal and a bit of backfill).
If you are lining a lawn or garden bed, you may want to put a layer of mulch at the bottom of the trench to help ward off any potential weed or grass growth (this is completely optional).
3. Insert the edging
Once you’ve prepared the trenches, you can begin inserting the edging into the ground (spikes down). We recommend connecting and curving (if required) the lengths first to simplify the entire process.
The unique interlocking design of our edging means that all you need is a mallet and a piece of wood to lock and secure the spikes that join lengths into place.
Because of the 100mm spikes, no pegs are required! Simply use the mallet to knock the steel into the ground securely.
4. Backfill with soil
Finally, you can backfill the trench with the soil you excavated. Be sure to pat it down firmly around the edging (both front and back) for stability. If used around a garden bed, sand pit, or other structure, you can now begin filling it in with soil, mulch, or sand.
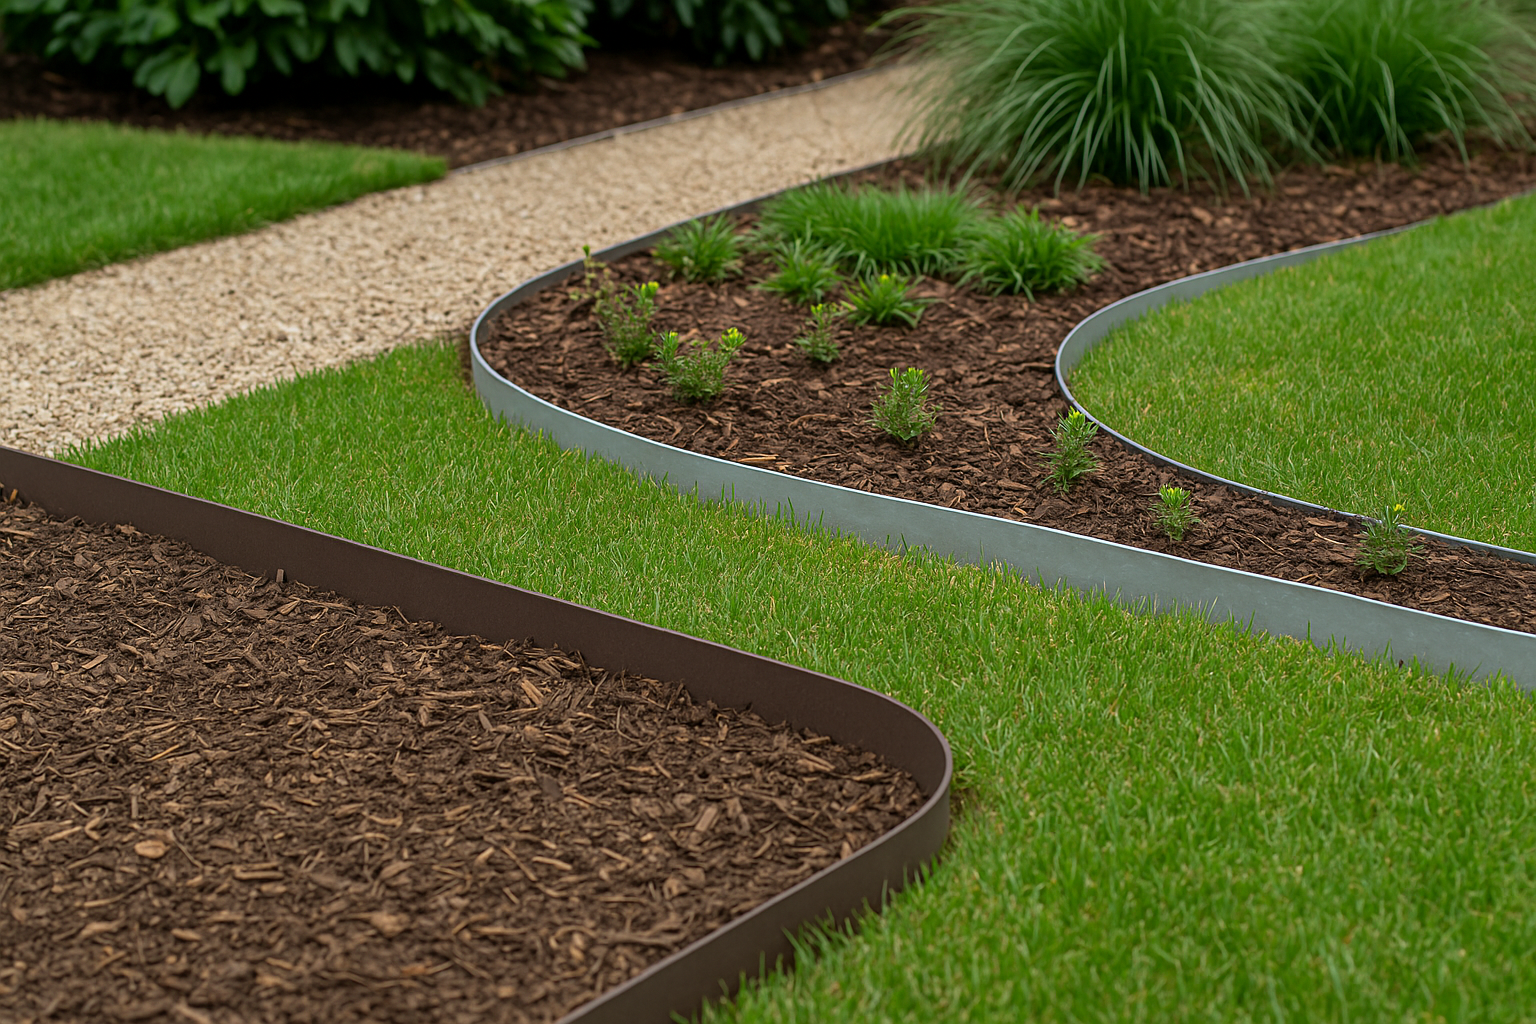
Are you ready to get started?
So there you have it: in just four steps, your new garden edging will be ready to go, giving your backyard that clean, defined look you desire. While it will take a bit of muscle, the effort will be more than worth it.
If you’re ready to give DIY steel garden edging installation a go, reach out to the expert team at Gardening Direct Australia for help with choosing one of our premier edging products.